How to Install a Solar Panel
Nowadays, many people are installing solar panels on their homes. In 2017, installation grew by a whopping 50% globally, thanks to markets in China and the US. There are many reasons why this source of power has become so popular- low upkeep cost, reduced energy bills, low carbon footprint etc. Have you bought the idea of installing solar but are unsure where to begin with solar panel setup? The following post focuses on basics of installing a solar panel.
Before we even go to the steps, it is important to note that solar installation is not an overnight job. A meticulous process must be followed before the devices in the house can be powered. The following are five steps that that define the solar panel setup process.
1. Site Visit
Ideally, the solar technician does not have to visit your home before they can provide a quote for the work. However, the technician will need to visit the site to verify things such as measurements, shade and general system design. What should you expect during a site visit?
- Determination of roof condition
- Determination of shade issues
- Readings to check sun access
2. Permits For Solar Panel Setup
Solar panel setup is a huge project, and predictably, a lot of paperwork is involved. A lot of this happens after the installer has submitted the design to local authorities. Although the installer will handle most of this work, it is important to follow what is happening. You need to know common programs related to solar installation including clean energy financing initiatives, solar rebates, solar programs and federal ITC.
Most states will require filling out building permits, which are usually specific. Of course, the installer knows all these regulations. They should let you know what is needed in good time to reduce delays during solar panel setup.
Are you eager to know the timeframe? From experience, the biggest determinant of the solar panel setup duration is the approval process on the local authority’s side. Overall, you might want to follow up the process so you can understand all the potential delays.
3. Ordering Components
Now that you have your design approved and the installer is ready to start work, it is time to order the components. Most installers have their favorite supplier, but it is important to know a thing or two about where to buy solar panels and other components. You want a supplier capable of executing the project to fulfillment. Perhaps you could observe how they respond to your emails or phone calls. Look for a supplier who is proactive and knowledgeable in as far as completing the solar panel setup is concerned.

4. Installation
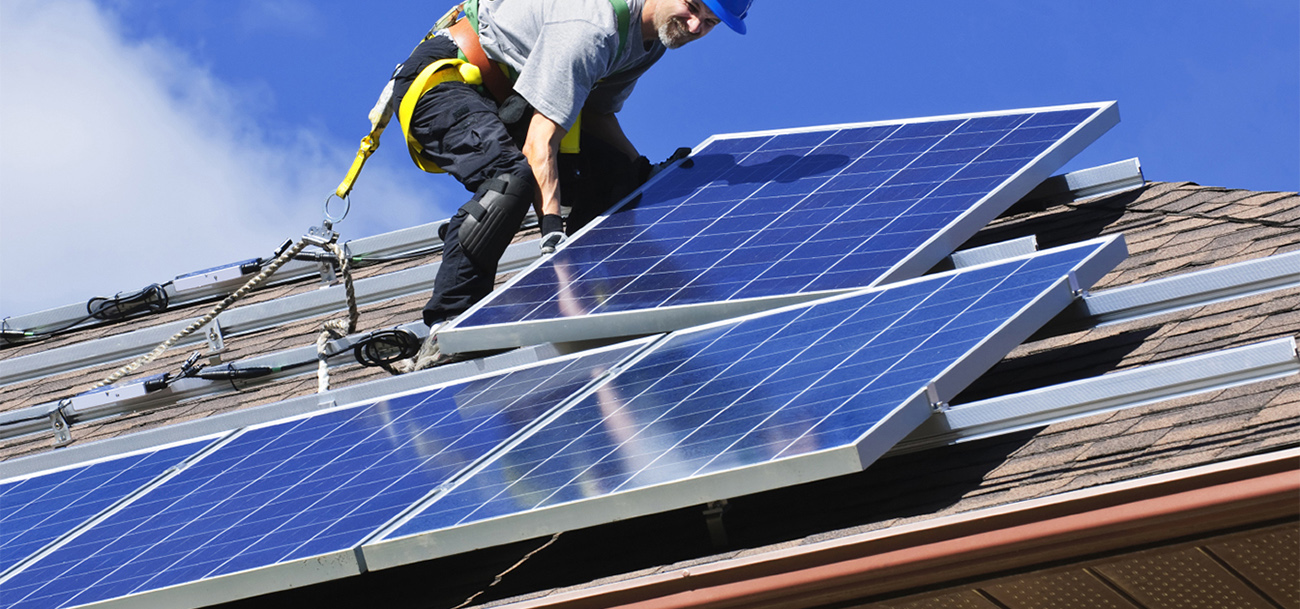
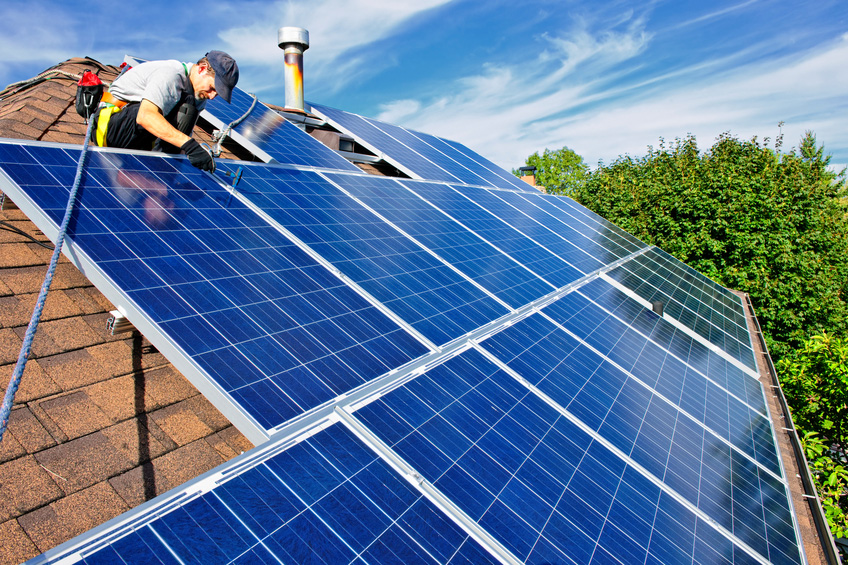
This is without doubt the biggest day of the entire process. It all starts with the solar installer accessing the roof and inspecting it thoroughly. Next, they set up the electrical wiring for the system. This is followed by racking installation. As you can guess, the solar panels are then attached to the firmly fixed racking. Inverter connection then follows.
All this work takes 1-3 days depending on the size of system, readiness of the roof, availability of components and so forth. If net metering is involved, the timeline could be long.
5. The Big Switch
This should be the happiest stage of the solar installation as far as the homeowner is concerned. The system is now ready to start generating electricity, but not so fast. A government representative needs to inspect and approve the system. Once approved, your system will go live. Utility interconnection approval may take weeks, but the most important thing is that you already have power on your roof.
Why wait patiently for the solar panel setup to complete? A solar system for home can cater for almost all electricity usage. It may also pay off in less than 10 years. Contact an installer for a personalized estimate of what the set up might cost.
You can checkout this model featured by our editors


